




- Email[email protected]
- Phone+962 797 166 177
- Birthday1982-09-25
- LocationAmman, Jordan
Track Anything Anywhere: Setting Up Traccar with Docker
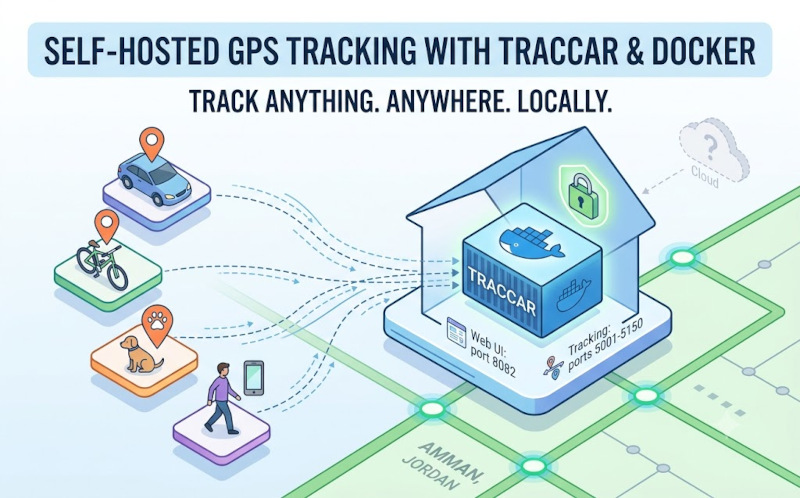
G'day mates! Welcome back to the lab. Over our past few projects, we’ve heavily focused on automating our homes, fortifying our networks with Tailscale, and setting up intelligent local presence detection. But what happens when you step outside your front door? Whether you want to track your car, your bike, your pets, or simply keep a private log of your own smartphone's location history without feeding it to Big Tech, we've got a DIY solution.
Today, we are setting up Traccar, an absolute beast of an open-source GPS tracking system. It supports thousands of different GPS trackers and has fantastic companion apps for iOS and Android. Best of all? It's entirely self-hosted. Your location data stays on your hardware.
Let’s crack open the terminal and get this spun up using Docker!
Step 1: Prepping the Directories and Config
Before we deploy the container, we need to set up some local folders to store our database and logs. If we don't map these locally, we'll lose all our tracking history every time the container updates or restarts!
Run the following commands to create your directories:
Bash
mkdir -p ~/traccar/logs
mkdir -p ~/traccar/data
Next, we need to extract the default configuration file directly from the Traccar Docker image so we can mount it locally and tweak it later if needed. Run this command:
Bash
docker run --rm --entrypoint cat traccar/traccar:latest /opt/traccar/conf/traccar.xml > ~/traccar/traccar.xml
Note: This spins up a temporary container, reads the default traccar.xml file, copies it to your new folder, and then immediately deletes the temporary container.
Step 2: The Docker Compose Setup
Now that our host machine is prepped, let's create our docker-compose.yaml file.
One thing to note here: Traccar supports hundreds of different GPS hardware protocols, and each protocol uses its own port. To ensure your server can talk to almost any tracker you buy off AliExpress or Amazon, we are opening a massive port range (5001-5150).
(Remember to replace your_username with your actual system username in the volume paths!)
YAML
services:
traccar:
image: traccar/traccar:latest
container_name: traccar
restart: unless-stopped
ports:
- "8082:8082" # Web Interface
- "5001-5150:5001-5150" # Tracking Protocols (covers most devices)
volumes:
- /home/your_username/traccar/traccar.xml:/opt/traccar/conf/traccar.xml:ro
- /home/your_username/traccar/logs:/opt/traccar/logs
- /home/your_username/traccar/data:/opt/traccar/data
environment:
- TZ=Asia/Amman
Step 3: Firing It Up and Tracking
With your docker-compose.yaml file saved, run the magical command:
Bash
sudo docker compose up -d
Give it a moment to initialize the database, and then point your web browser to http://<your-server-ip>:8082.
First Login Details:
-
Username: admin
-
Password: admin (Change this immediately once you log in!)
What's Next?
To test it out right away, you don't even need to buy a dedicated hardware tracker.
-
Download the Traccar Client app on your iOS or Android device.
-
In the app, set the Server URL to your server's IP and port (e.g., http://192.168.3.xxx:5055 — Note that the mobile client protocol uses port 5055 by default).
-
Copy the Device Identifier from the app.
-
Go to your Traccar Web UI, click + Add Device, and paste that identifier.
Switch the app service on, go for a walk, and watch your own private tracking server map your route in real-time. Welcome to total location independence! Cheers! 🍻
"If you've got any questions or need a hand wrangling your own setup, don't hesitate to reach out at [email protected] or connect with me via www.yazan.me. I'm always keen to help out!"