



- Email[email protected]
- Phone+962 797 166 177
- Birthday1982-09-25
- LocationAmman, Jordan
The Wi-Fi 7 Upgrade: How the Archer BE230 Handled My Smart Home
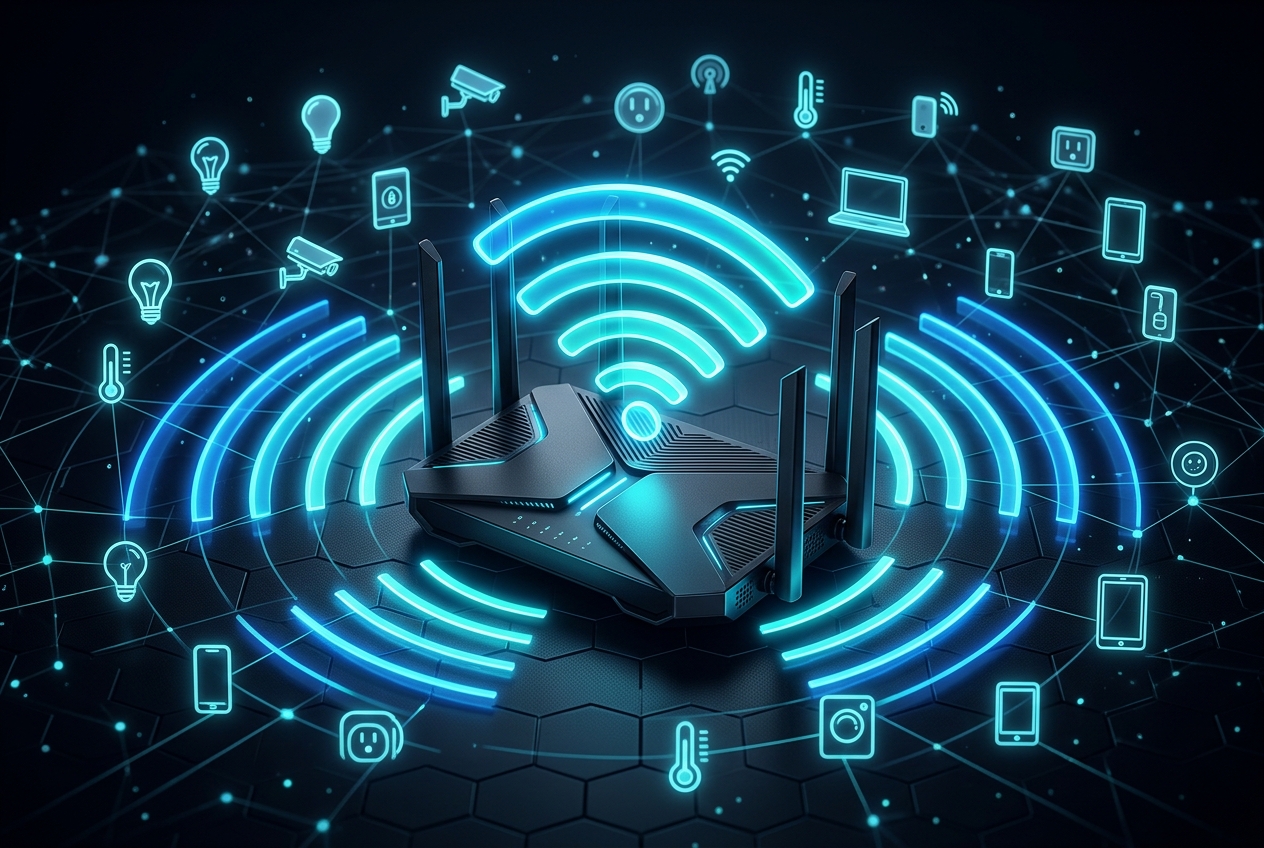
G'day mates! Welcome back. Today we're talking about one of the most common bottlenecks in a maturing home lab: network congestion. As you build out more ESP32 room nodes, hook up cameras, deploy smart lights, and run local servers, you eventually hit a wall where your standard consumer router just throws its hands up in the air.
Recently, I upgraded my main DHCP router to the TP-Link Archer BE230. It's a Wi-Fi 7 router, which on paper looks like absolute overkill for a home lab. But after running it through its paces with over 100 smart home and development devices, the results speak for themselves. Let's crack into the details of the upgrade and, more importantly, how we segment the network to keep things running at peak performance.
Why Wi-Fi 7 Matters for a Crowded Lab
Wi-Fi 7 isn't just about raw speed—though pulling gigabit transfer rates on a laptop is a nice perk. The real magic lies in how it handles congestion. Technologies like Multi-Link Operation (MLO) allow devices to send and receive data across different bands simultaneously, slashing latency. The Archer BE230 also supports 320MHz channels and 4K-QAM, meaning more data fits into the same airwaves.
But here is the catch: all that cutting-edge technology doesn't mean a thing if your router is constantly distracted by a flood of cheap, chatty 2.4GHz smart plugs and light bulbs. IoT devices are notoriously bad network citizens. They check in constantly, send tiny packets, and use older, slower wireless standards that drag down the performance of the entire channel.
The Segmented IoT Topology: Enter Bridge Mode
To solve this, we don't dump everything onto the BE230's main radios. Instead, we divide and conquer. The Archer BE230 handles the heavy lifting: DHCP server, routing, DNS filtering via Control D, and the high-speed 5GHz/6GHz bands for personal laptops, workstations, and phones.
For the IoT swarm, we run a dedicated network segmented onto secondary hardware. I have two Huawei B3 routers configured in Bridge Mode:
- Huawei B3 (Yazan_IoT_1) at 192.168.3.x
- Huawei B3 (Yazan_IoT_2) at 192.168.3.x
By bridging these routers and positioning them in different parts of the house, they act as dedicated 2.4GHz access points. They offload all the low-speed smart devices (Tuya, Xiaomi, Tapo, and our ESP32 presence proxies) from the Archer BE230’s primary radios. The BE230 still assigns the IP addresses via DHCP (staying on the 192.168.3.x subnet), but the wireless traffic is separated physically.
Setting Up Dynamic DNS on the Archer BE230
Because we self-host services like Home Assistant, Frigate, and Jellyfin behind Cloudflare Tunnels and Tailscale, having a reliable dynamic DNS setup on the main gateway is essential. If the ISP decides to rotate our public IP, we need a quick way to know the new address.
We configure this directly on the Archer BE230, mapping it to a TP-Link DDNS domain:
Bash
x.tplinkdns.com
This acts as a solid backup entry point. Even if our Cloudflare Tunnels have a brief hiccup, we can always SSH back into the Zero Pi subnet router or the LAMP server by hitting the DDNS address.
Verdict: Is It Worth the Upgrade?
Upgrading to a Wi-Fi 7 router like the Archer BE230 has completely smoothed out my home network. The combination of Wi-Fi 7’s advanced congestion management for our workstations and the bridged Huawei B3 routers for our IoT devices means zero dropped connections, lower latency, and no more smart home devices showing up as "unavailable."
And that's a wrap! If you're running a similar bridged IoT network or looking at Wi-Fi 7, let me know in the comments. Cheers!
"If you've got any questions or need a hand wrangling your own setup, don't hesitate to reach out at [email protected] or connect with me via www.yazan.me. I'm always keen to help out!"