




- Email[email protected]
- Phone+962 797 166 177
- Birthday1982-09-25
- LocationAmman, Jordan
Network-Wide Ad Blocking: Setting Up Pi-hole on a Raspberry Pi Zero
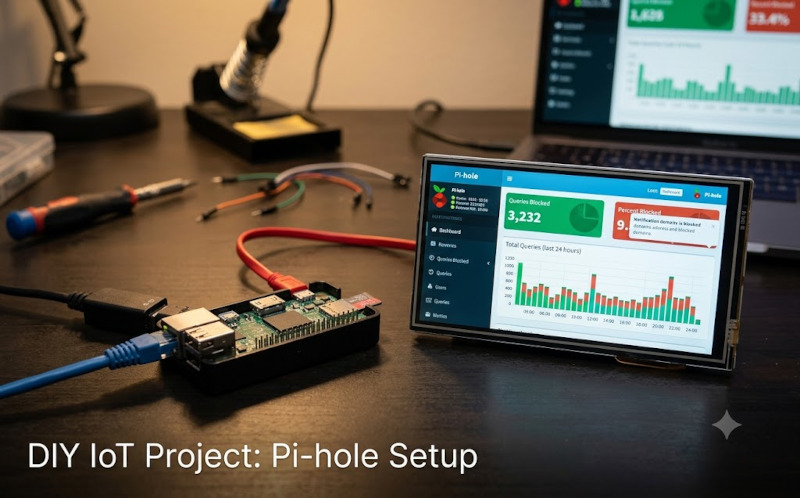
Welcome back to the lab! In our previous projects, we turned a trusty Raspberry Pi Zero 2 W into a bulletproof MQTT broker and a Zigbee hub. Today, we are shifting gears from device communication to network security and traffic monitoring.
If you are tired of intrusive ads, tracking scripts, and wanting a clearer picture of what your smart devices are actually doing under the hood, you need a DNS sinkhole. Today, we’re setting up Pi-hole. Because the Raspberry Pi Zero 2 W is incredibly low-power, it serves as the perfect, always-on sentry for your home network.
Here is how to get it installed, configured, and routing your traffic.
Why Pi-hole?
Pi-hole acts as your network's private DNS server. Instead of your devices asking your ISP where "google.com" or "sketchy-ad-server.com" is, they ask your Pi-hole. If the request is on a massive, community-maintained blocklist, Pi-hole drops the request into a black hole.
The Benefits:
-
Network-Wide Blocking: Blocks ads on smart TVs, mobile phones, and IoT devices without installing individual ad-blockers.
-
Traffic Monitoring: The beautiful web dashboard lets you see exactly which devices are phoning home and how often.
-
Improved Speeds: By preventing ads and trackers from loading, webpages render faster and consume less bandwidth.
Installation Method 1: The Bare Metal Approach
If you want a dedicated Pi-hole device running directly on the OS, the automated script is the fastest way to get started.
Step 1: Run the Installer
Connect to your Pi via SSH and run the official installation script. It will guide you through a visual prompt to select your upstream DNS provider (like Cloudflare or Quad9) and confirm your static IP.
Bash
curl -sSL https://install.pi-hole.net | bash
Step 2: Fix User Permissions
To ensure you can run Pi-hole command-line tools without constantly needing root access, add your current user to the pihole group.
Bash
sudo usermod -aG pihole $USER
Note: You may need to log out and log back in for this permission change to take effect.
Installation Method 2: The Docker Route
If you prefer keeping your environment modular and are already running Docker (perhaps alongside Zigbee2MQTT ), deploying Pi-hole via a container is incredibly clean.
Create a new directory and a docker-compose.yaml file:
YAML
version: "3"
services:
pihole:
container_name: pihole
image: pihole/pihole:latest
ports:
- "53:53/tcp"
- "53:53/udp"
- "80:80/tcp"
environment:
TZ: 'Asia/Amman'
WEBPASSWORD: 'your_secure_password'
volumes:
- './etc-pihole:/etc/pihole'
- './etc-dnsmasq.d:/etc/dnsmasq.d'
restart: unless-stopped
Boot it up in the background:
Bash
sudo docker compose up -d
The Crucial Next Step: Changing Your Router's Gateway
Installing Pi-hole is only half the battle. Right now, your devices are still using your router's default DNS. You need to tell your DHCP server to hand out the Pi-hole's IP address instead.
How to make the switch:
-
Log into your main DHCP Router—in my home lab, this is the Archer BE230.
-
Navigate to the LAN Settings or DHCP Server section.
-
Locate the Primary DNS field.
-
Replace the default IP (usually your ISP's or a blank space) with the static IP address of your Raspberry Pi Zero.
-
Leave the Secondary DNS blank (or point it to a backup Pi-hole if you have one) so traffic doesn't bypass your blocklist.
-
Save the settings and restart your router.
As devices reconnect to the network, they will receive the new DNS instructions. You can verify this by logging into the Pi-hole web interface (http://<your-pi-ip>/admin) and watching the queries roll in!
Taking It Further: Remote Access
Once your Pi-hole is humming along, you'll likely want to check your traffic stats or temporarily disable the blocklist while away from home. Do not expose port 80 to the open internet!
Instead, rely on secure tunneling. Just like we use Tailscale to SSH into the work laptops and Pi devices, you can install Tailscale on the Pi-hole device. Alternatively, you can route the dashboard through a secure Cloudflare tunnel linked to your domain, ensuring you have encrypted, authenticated access to your ad-blocking stats from anywhere in the world.
"If you've got any questions or need a hand wrangling your own setup, don't hesitate to reach out at [email protected] or connect with me via www.yazan.me. I'm always keen to help out!"