




- Email[email protected]
- Phone+962 797 166 177
- Birthday1982-09-25
- LocationAmman, Jordan
Full Circle Wiring Our Custom LoRA Model into the Home Assistant Voice Pipeline
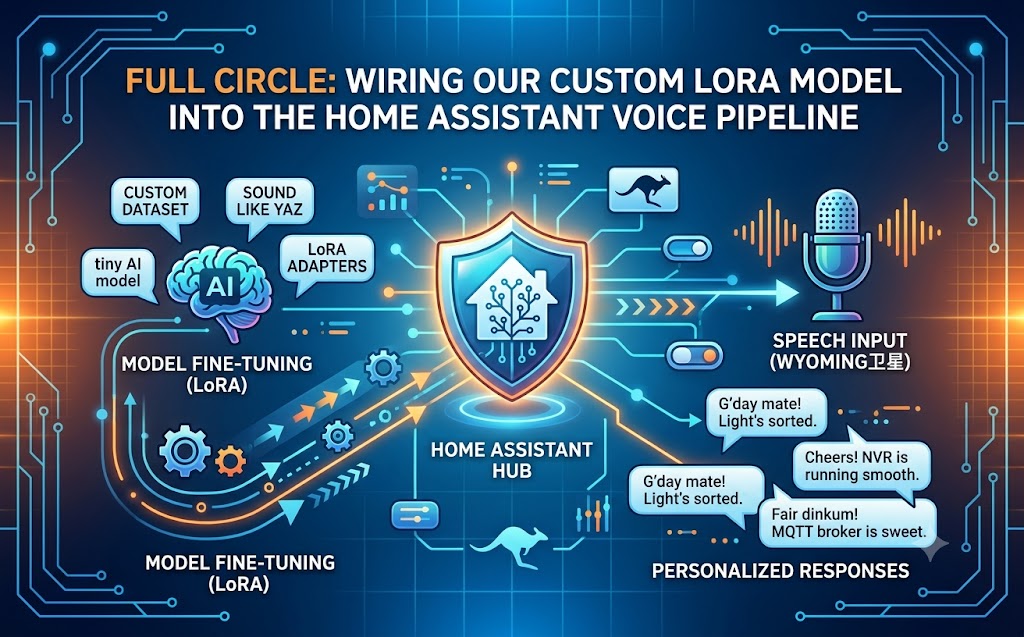
G'day mates! Welcome back. If you've been following along, we've had a massive few weeks of AI experiments. We successfully spun up a local conversational voice assistant using the Wyoming protocol, and more recently, we taught a tiny 1-billion-parameter model to sound like me using LoRA fine-tuning on a free Colab GPU.
Today, we are bringing those two worlds together. We are taking that custom-tuned model and plugging it directly into our Home Assistant setup.
Why settle for a generic, robotic AI when your home can respond to commands using your own custom vocabulary and tone? Let's crack into the terminal and make the house truly ours!
Step 1: Exporting the Fine-Tuned Model to Ollama
First things first, we need to get our LoRA adapters bundled up with the base model and converted into a format Ollama can read. Once you've merged your weights in Colab, export the model as a GGUF file.
Download that GGUF file to your trusty server where your Ollama Docker container is running, and create a Modelfile in the same directory. This file tells Ollama exactly how to handle our custom creation.
Bash
nano Modelfile
Drop in this configuration:
Plaintext
FROM ./yaz-custom-model-1b.gguf
# Set a higher temperature so the model uses its new creative vocabulary
PARAMETER temperature 0.8
PARAMETER num_ctx 4096
SYSTEM """
You are the central brain of this home lab. You control the lights, the Frigate NVR cameras, and the MQTT broker. Always respond using the custom Australian-slang-infused vocabulary you were trained on. Keep responses brief and helpful.
"""
Step 2: Building and Running the Model
With the Modelfile saved, we just need to instruct Ollama to build it into an executable model. Run the following command right in your terminal:
Bash
docker exec -it ollama ollama create HomeLabBrain -f /root/.ollama/Modelfile
Once the build completes, test it out to make sure it's fair dinkum:
Bash
docker exec -it ollama ollama run HomeLabBrain
Step 3: Pointing Home Assistant to the New Brain
Now for the absolute magic. Head over to your Home Assistant dashboard and navigate to your Conversation agent settings.
Instead of pointing it to the generic Llama 3 or Mistral model, update the target model to HomeLabBrain.
Ensure your Wyoming Satellite microphones (like the Pi Zero we built earlier) are set to use this specific conversation pipeline.
Apply the changes and restart the Home Assistant container.
The Verdict
Walking into the kitchen and having your smart home acknowledge a command in the exact same writing style you use on your blog is an absolute trip. It takes local AI from a generic tool to a deeply personalized interface. The hard yakka of dataset cleaning and fine-tuning absolutely pays off when your house starts feeling like a true extension of yourself.
Raid that parts drawer, spin up a container, and give your home lab its own unique personality.