




- Email[email protected]
- Phone+962 797 166 177
- Birthday1982-09-25
- LocationAmman, Jordan
Ditching Shared Hosting: Building a High-Performance, Budget-Friendly Server on Hetzner
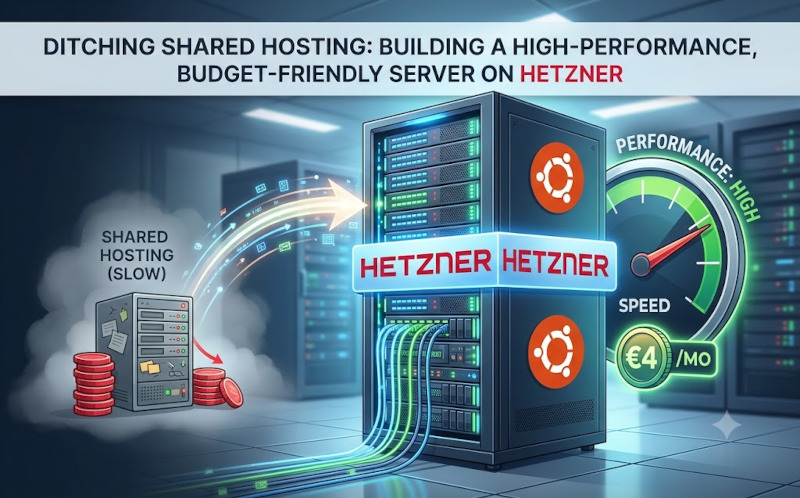
G'day mates! Welcome back to the lab. Over the last few projects, we've tackled a lot of internal networking, from building a bulletproof MQTT broker to setting up localized voice control. Today, we are stepping outside the home lab and looking at our live web infrastructure.
If you've been running your digital projects, client websites, or even just a personal portfolio on standard shared hosting, you know the absolute nightmare it can be. You are constantly battling slow load times, restrictive resource limits, and skyrocketing renewal fees. It can be incredibly frustrating to feel like you have no control over the environment powering your hard work.
Today, we are taking back control. I am going to show you how to migrate to a dedicated Hetzner Ubuntu VPS and set up a modern control panel. The best part? It's going to give you blistering performance for less than the cost of a cup of coffee. Let's crack into the terminal and get this sorted!
Step 1: The Hardware – Why Hetzner?
When you use shared hosting, you are crammed onto a single server with hundreds of other users fighting for the same CPU cycles. By moving to a VPS (Virtual Private Server), you get dedicated resources that are entirely yours.
For my live server, which contains live client websites, I rely on a Hetzner CX23 instance. This brilliant little box runs on an x86 architecture with 40 GB of storage, hosted in the eu-central region. For around €4 a month, you get 2 vCPUs and 4GB of RAM. Compared to the shared hosting providers that charge triple for a fraction of those specs, this is a bloody ripper of a deal.
When spinning up your server in the Hetzner console, select an Ubuntu LTS image, attach your SSH keys, and let it boot.
Step 2: Installing CloudPanel
On traditional shared hosting, you're usually locked into bloated, expensive legacy control panels that eat up system resources. Because we want a lightweight, modern, and highly optimized environment, I use Cloudpanel. It is incredibly fast, tailored for PHP/MySQL stacks, and gives you a beautiful interface to manage your domains, databases, and cron jobs.
SSH into your fresh Hetzner box and run the installation script:
Bash
sudo apt update && sudo apt -y upgrade
sudo apt -y install curl wget sudo
curl -sS https://installer.cloudpanel.io/ce/v3/install.sh -o install.sh; \
echo "85762db0edc00ce19a2cd5496d1627903e6198ad850bffdef4f0af6d70d93216 install.sh" | \
sha256sum -c && sudo bash install.sh
Give it a few minutes to do the hard yakka. Once the script finishes, your server is ready to start hosting high-speed web applications!
Step 3: Automated Deployments
If you are managing custom code or client projects, you don't want to be dragging and dropping files via FTP like it's 2005. To keep my workflows lean and efficient, I use a tool called dploy, which seamlessly deploys code from github directly to the live server.
Setting up webhooks between your GitHub repository and your server ensures that every time you push an update to your main branch, your live server pulls the fresh code instantly. It is a massive time-saver and entirely eliminates manual upload errors.
Wrapping It Up
And that's a wrap! By ditching shared hosting for a Hetzner CX23 and utilizing CloudPanel, you've just built a blistering-fast, highly secure live server for absolute peanuts. You have an enterprise-grade setup that plays perfectly by your own rules.
Let me know in the comments if you've made the jump to a VPS yet, and what you're hosting on it. Cheers!
"If you've got any questions or need a hand wrangling your own setup, don't hesitate to reach out at [email protected] or connect with me via www.yazan.me. I'm always keen to help out!"