




- Email[email protected]
- Phone+962 797 166 177
- Birthday1982-09-25
- LocationAmman, Jordan
Building a Local, Privacy-First Wireless Voice Assistant with Raspberry Pi Zero & Wyoming Satellite
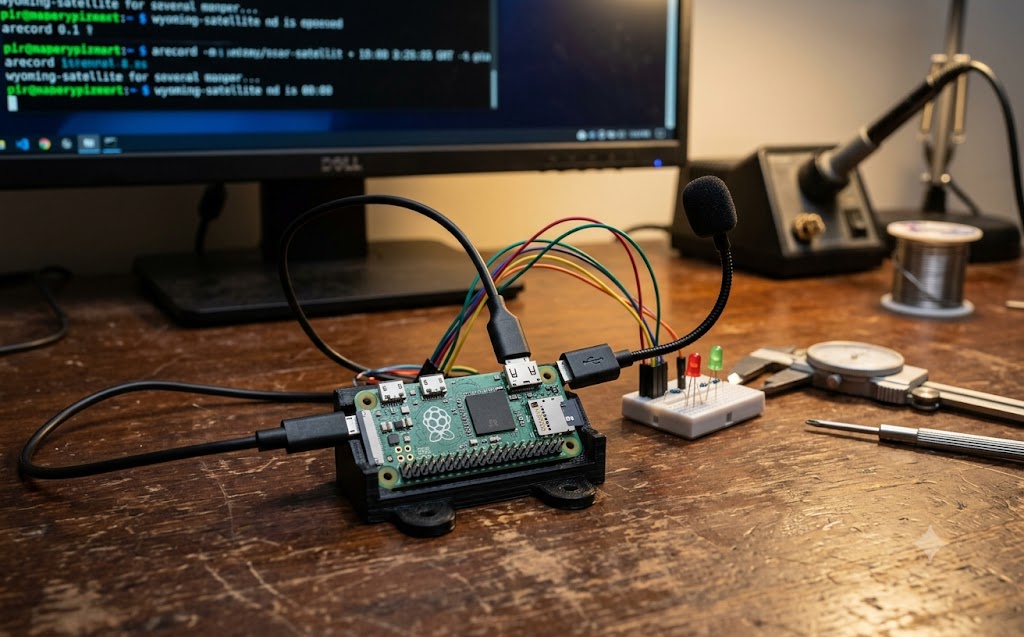
G'day mates! Welcome back to the lab. In our previous projects, we have fortified our infrastructure by building a bulletproof MQTT broker and locking down our network with a secure Squid proxy. But today, we are moving away from backend networking to give our smart home a physical set of ears—without sacrificing our privacy to the cloud.
If you are running Home Assistant and want voice control in every room, you don't need proprietary smart speakers listening to your every word. Today, we are building a completely local wireless microphone using a Raspberry Pi Zero, a basic USB mic, and the Wyoming Satellite protocol.
Let's crack into the terminal and get this sorted!
Step 1: Install Dependencies
First things first, we need to ensure our Pi is up to date and has all the necessary audio and Python tools installed to handle the audio streams. SSH into your Pi (we are using the user mic for this build) and run:
Bash
sudo apt-get update
sudo apt-get install --no-install-recommends git python3-venv alsa-utils libopenblas-dev
Step 2: Clone and Setup Wyoming Satellite
Next, we are going to grab the Wyoming Satellite repository. This brilliant piece of software acts as the bridge between our local microphone hardware and the Home Assistant voice pipeline. We will set it up in its own Python virtual environment to keep our system clean.
Bash
cd ~
git clone https://github.com/rhasspy/wyoming-satellite.git
cd wyoming-satellite
python3 -m venv .venv
.venv/bin/pip3 install --upgrade pip
.venv/bin/pip3 install --upgrade wheel setuptools
.venv/bin/pip3 install -r requirements.txt
Step 3: Clear the Deck
Before we set up our persistent service, it is a smart habit to kill any stray audio or Python processes that might be clinging to your hardware or network ports. This prevents those frustrating "Address already in use" errors.
Bash
sudo killall -9 arecord
sudo killall -9 python3
sudo fuser -k 10700/tcp
Step 4: Create the Systemd Service
We want our microphone to be a true "set and forget" appliance. To do this, we need to create a systemd service so the Wyoming Satellite boots up automatically whenever the Pi restarts.
Bash
sudo nano /etc/systemd/system/wyoming-satellite.service
Paste the following configuration into the file. Notice that we are configuring ALSA (arecord) to capture audio at 16000Hz, linking it to our wake-word server at 192.168.3.229, and setting our custom wake word to ok_nabo.
[Unit]
Description=Wyoming Satellite
Wants=network-online.target
After=network-online.target
Wants=sound.target
After=sound.target
[Service]
Type=simple
User=mic
WorkingDirectory=/home/mic/wyoming-satellite
ExecStart=/home/mic/wyoming-satellite/script/run \
--name 'lr_mic' \
--uri 'tcp://0.0.0.0:10700' \
--mic-command 'arecord -D plughw:CARD=Audio,DEV=0 -r 16000 -c 1 -f S16_LE -t raw' \
--wake-uri 'tcp://192.168.3.229:10400' \
--wake-word-name 'ok_nabo'
Restart=always
RestartSec=1
[Install]
WantedBy=multi-user.target
Step 5: Boot It Up!
The hard yakka is done! Save your configuration file, exit the editor, and run the following commands to reload the system daemon and fire up your new service.
Bash
sudo systemctl daemon-reload
sudo systemctl enable wyoming-satellite
sudo systemctl start wyoming-satellite
sudo systemctl status wyoming-satellite
(Tip: Press q to exit the status screen).
And that’s a wrap! You have successfully built a dedicated, cloud-free voice assistant node. Just say your wake word, and watch Home Assistant leap into action.
"If you've got any questions or need a hand wrangling your own setup, don't hesitate to reach out at [email protected] or connect with me via www.yazan.me. I'm always keen to help out!"